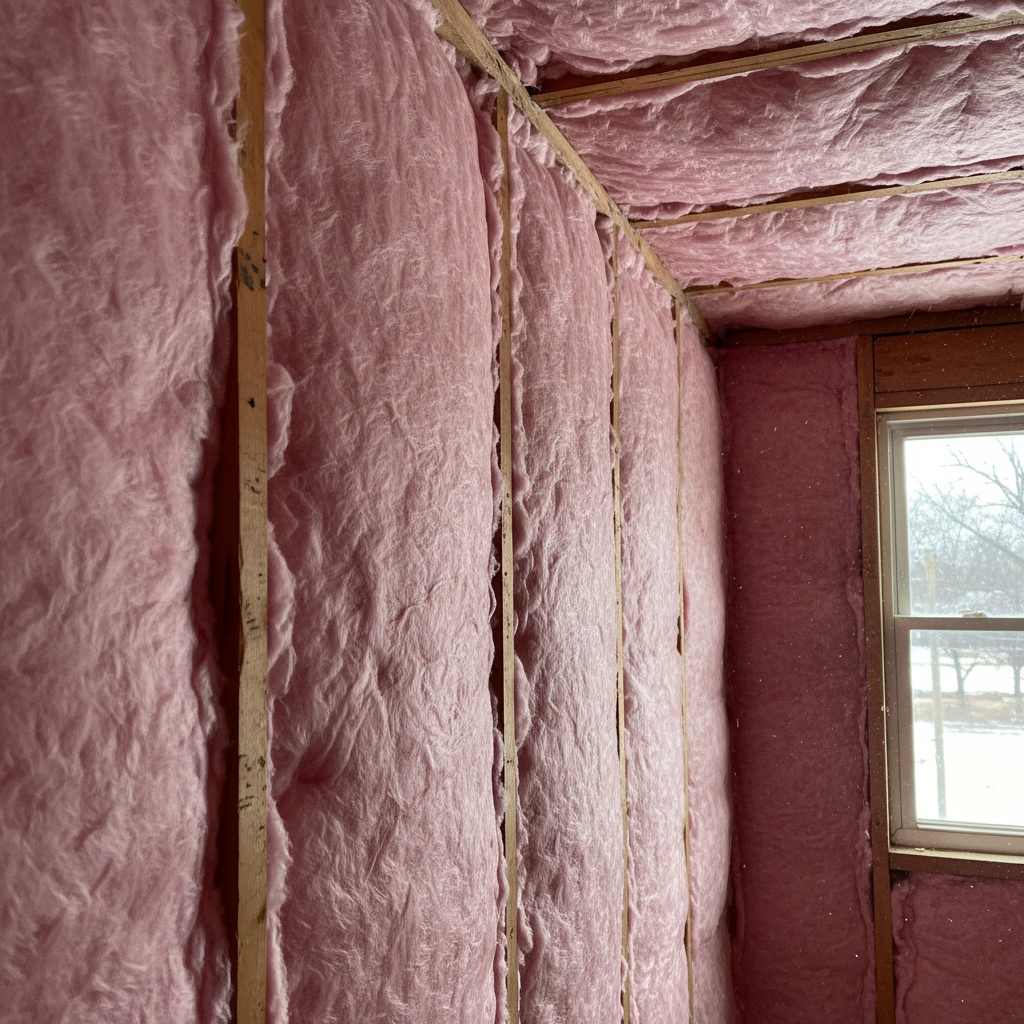
So, you're thinking about tackling batt insulation yourself, huh? I get it. It looks pretty straightforward – unroll it, cut it, stick it in. And for some parts of your home, it absolutely can be a DIY project that saves you some serious cash. But there are definitely things you need to know before you start, during the job, and even after you think you're done. Mess it up, and you're not just wasting money; you're losing comfort and efficiency in your Evanston home.
Before You Even Buy a Roll
First off, let's talk about where you're putting this stuff. Batt insulation is typically fiberglass or mineral wool. It comes in pre-cut sections or rolls, designed to fit between standard framing – think 16 or 24 inches on center. It's great for unfinished attics, walls that are open for renovation, or even crawl spaces if you're insulating the floor above.
Before you buy anything, you've got to figure out your R-value. That's the insulation's resistance to heat flow. The higher the R-value, the better it insulates. For attics in our climate here in Evanston, you're generally looking at R-49 to R-60. Walls usually need R-13 to R-21. Don't just guess; check with the city's building codes or energy recommendations. You don't want to install R-19 in your attic and find out you needed R-49 – that's a huge difference in performance, believe me.
Next, measure everything. And I mean *everything*. The length and width of the areas you're insulating. You'll need to calculate square footage, then add about 10-15% for cuts and waste. It's always better to have a little extra than to run out halfway through a Saturday afternoon.
You'll also need some gear. This isn't a T-shirt and shorts job. Fiberglass fibers are itchy and can irritate your lungs. You'll want:
- A good quality respirator or N95 mask.
- Gloves – heavy-duty work gloves, not dishwashing gloves.
- Long-sleeved shirt and pants.
- Safety glasses or goggles.
- A utility knife with plenty of fresh blades.
- A straightedge or tape measure.
- A sturdy board to cut on.
And for attics, especially in older homes around Central Street with those tight eaves, make sure you have proper lighting and knee boards or plywood to walk on. You definitely don't want to step through your ceiling.
During the Installation: It's All About the Fit
This is where most DIYers go wrong. Batt insulation works by trapping air. If you compress it, you lose that trapped air, and you lose R-value. So, rule number one: don't compress it.
For walls, you'll want to cut the batts to fit snugly between the studs. Don't leave gaps; air leaks are efficiency killers. If you have electrical boxes or pipes, you need to carefully cut around them, making sure the insulation completely surrounds them without being squished. Think of it like wrapping a present – you want it tight but not crumpled.
If your batts have a paper or foil facing, that's usually a vapor barrier. In our cold Evanston winters, you generally want the vapor barrier facing the heated living space. So, if you're insulating an exterior wall, the paper faces inside the house. In an attic, if you're insulating the attic floor, the paper faces down, towards the ceiling of the rooms below. If you're insulating the roofline (a 'conditioned attic'), it's a different ballgame. You might not even use faced batts at all, or you'd put the vapor barrier on the exterior side of the insulation, which is usually a pro job.
When you're putting batts in an attic floor, make sure they go all the way to the edge of the ceiling joists. Don't block soffit vents if you have them – those are crucial for attic ventilation. You might need baffles (ventilation chutes) to keep the insulation from blocking the airflow. This is especially important in older bungalows where attic ventilation might already be a bit tight.
The goal is a continuous thermal blanket. No gaps, no squishing, no missing spots. Even a small gap can let a surprising amount of heat escape or enter.
After You've Laid the Last Batt
Once you've got all your batts in place, take a good look around. Did you miss anything? Are there any obvious gaps? Are all the batts fluffed up and not compressed? If you're insulating an attic, make sure you haven't covered any recessed lights unless they are IC-rated (Insulation Contact). Non-IC rated lights need an air gap around them to prevent overheating and fire hazards.
If you're insulating walls that will be drywalled, make sure the batts are flush with the studs, not bulging out. You don't want bumps in your new walls.
Now, when is this a job for Western Insulation Company and not for you? Honestly, if you're dealing with anything more complex than an open, easily accessible attic floor or simple, open wall cavities, it's probably best to call a professional. If you have:
- Knee walls that are tricky to get to.
- Sloped ceilings.
- Attics with lots of obstructions (HVAC ducts, old wiring, plumbing).
- Or if you're just not comfortable working in tight, dusty spaces.
We've seen plenty of DIY insulation jobs that looked good on the surface but were full of hidden gaps and compression issues. Sometimes, it's worth paying to know it's done right the first time. We've got the tools, the experience, and we know all the Evanston building quirks that can make these jobs tougher than they look. But for those straightforward projects, with a little care and the right approach, you can definitely get it done yourself.